| Home | Food |
Erna's Rolls
This was the first bread I ever baked. My maternal grandmother Erna Clara Augusta Obenhaus Holtzen (born 12/1/1905) taught me to make these, and they are delicious. I try to make these for Thanksgiving and Christmas dinners at least; it is a warm connection to holidays from long ago.
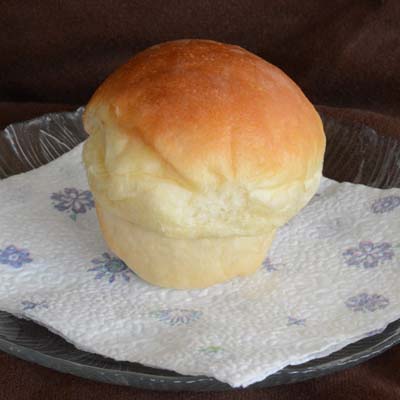 |
| Baked roll with brown top and lightly browned sides and bottom. |
Ingredients
- 2 cups lukewarm water or potato water
- 0.5 cup sugar
- 1.5 teaspoon salt
- 2 packages active dry yeast
- 1 egg
- 0.25 cup shortening
- 6 to 7 cups flour (sifted)
Steps
- Dissolve sugar and salt in water in a large bowl. Add yeast and stir the mixture until yeast is dissolved.
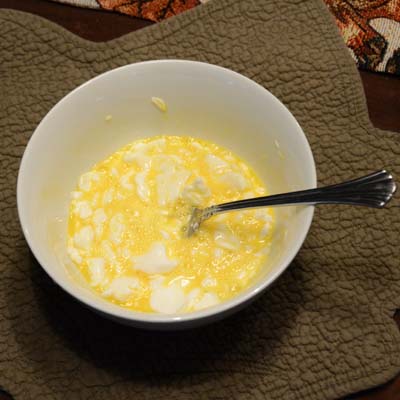
- Mix egg with shortening (photo 1) and add to bowl.
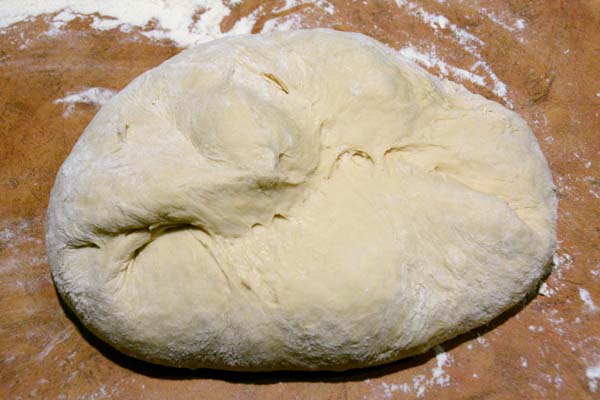
- Gradually sift about 4 cups of flour into bowl while stirring occasionally. When the mixture becomes difficult to stir (photo 2), turn the wet, sticky dough out onto a lightly floured kneading surface. Continue adding flour and kneading dough until the dough loses most of its stickiness (photo 3). Let the dough rest while preparing the rising container.
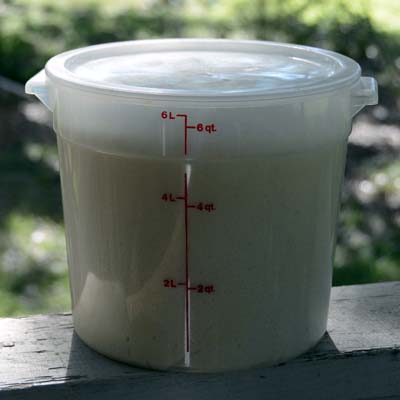
- Place the kneaded dough in alarge bowl and cover with plastic, a lid, or a lint-free towel (photo 4). Let the dough rise until it has doubled in size (photo 5), usually at least two to three hours depending on the activity of the yeast and the temperature of the room.
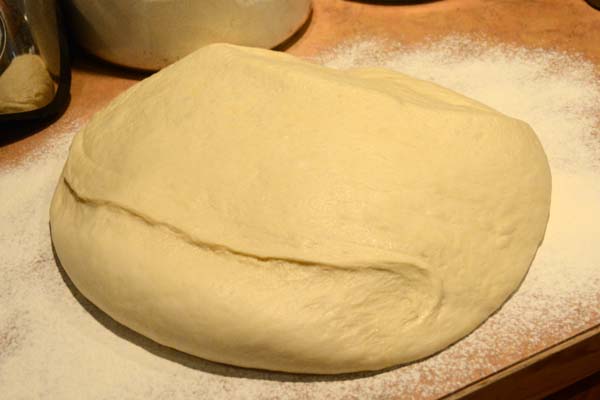
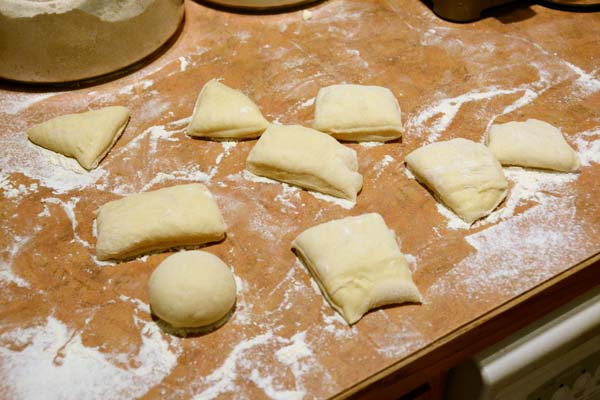
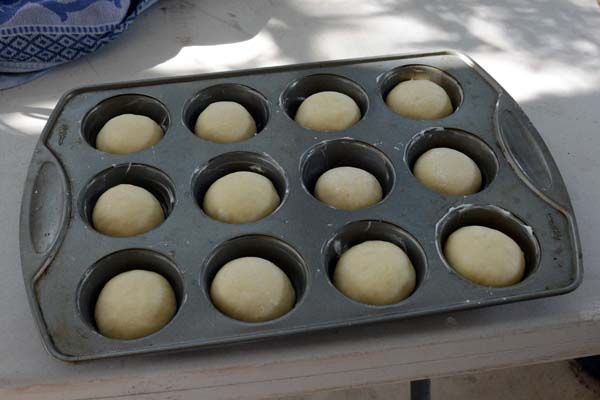
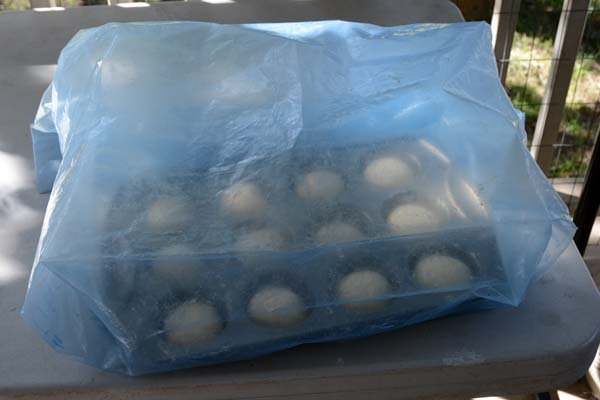
- Lightly coat the cups in a muffin pan with shortening to prevent the rolls from sticking to the pan. Turn out the risen dough onto a lightly floured surface (photo 6) and cut the dough into 24 more-or-less equal pieces (photo 7). Lightly knead individual pieces of dough, shape them by tucking the outside edge underneath while rotating the dough to create upper-surface tension, and place them (domed side up) into greased roll pans (photo 8) or a parchment-covered baking sheet (photo 9). Cover with a lint-free towel or place the entire tray in an inflated, large plastic bag (photo 10) and let the rolls rise until the cups are filled and the tops have risen above the pan (usually at least 45 minutes).
- Preheat the oven to 350 degrees while the rolls are rising and place roll pans in oven. Bake until the tops are well browned and remove the rolls from the oven. Lightly coat roll tops with a stick of butter and gently remove rolls from pan. They should be well-browned on the tops and lightly browned on the sides and bottom (photo 11).
Notes
- Yeast dissolves better if it is added before sugar and salt are added.
- When shaping the rolls, form dough into a rough circular shape by folding over corners and gently flattening the dough. Once the shape is roughly round, turn over the dough so that the smooth side is on top and then progressively fold edges underneath using both hands in a turning motion. When dough is domed, pinch the bottom together and place in the pan domed side up.
Photographs